Email Templates
When you approve or reject a wholesale application, the applicant gets an email. The wording of those emails is yours to control. There are two templates — one for approval, one for rejection — and both are edited the same way.
Open the editor
Section titled “Open the editor”- From the sidebar, open Registrations → Email settings.
- Click either Approval email or Rejection email.
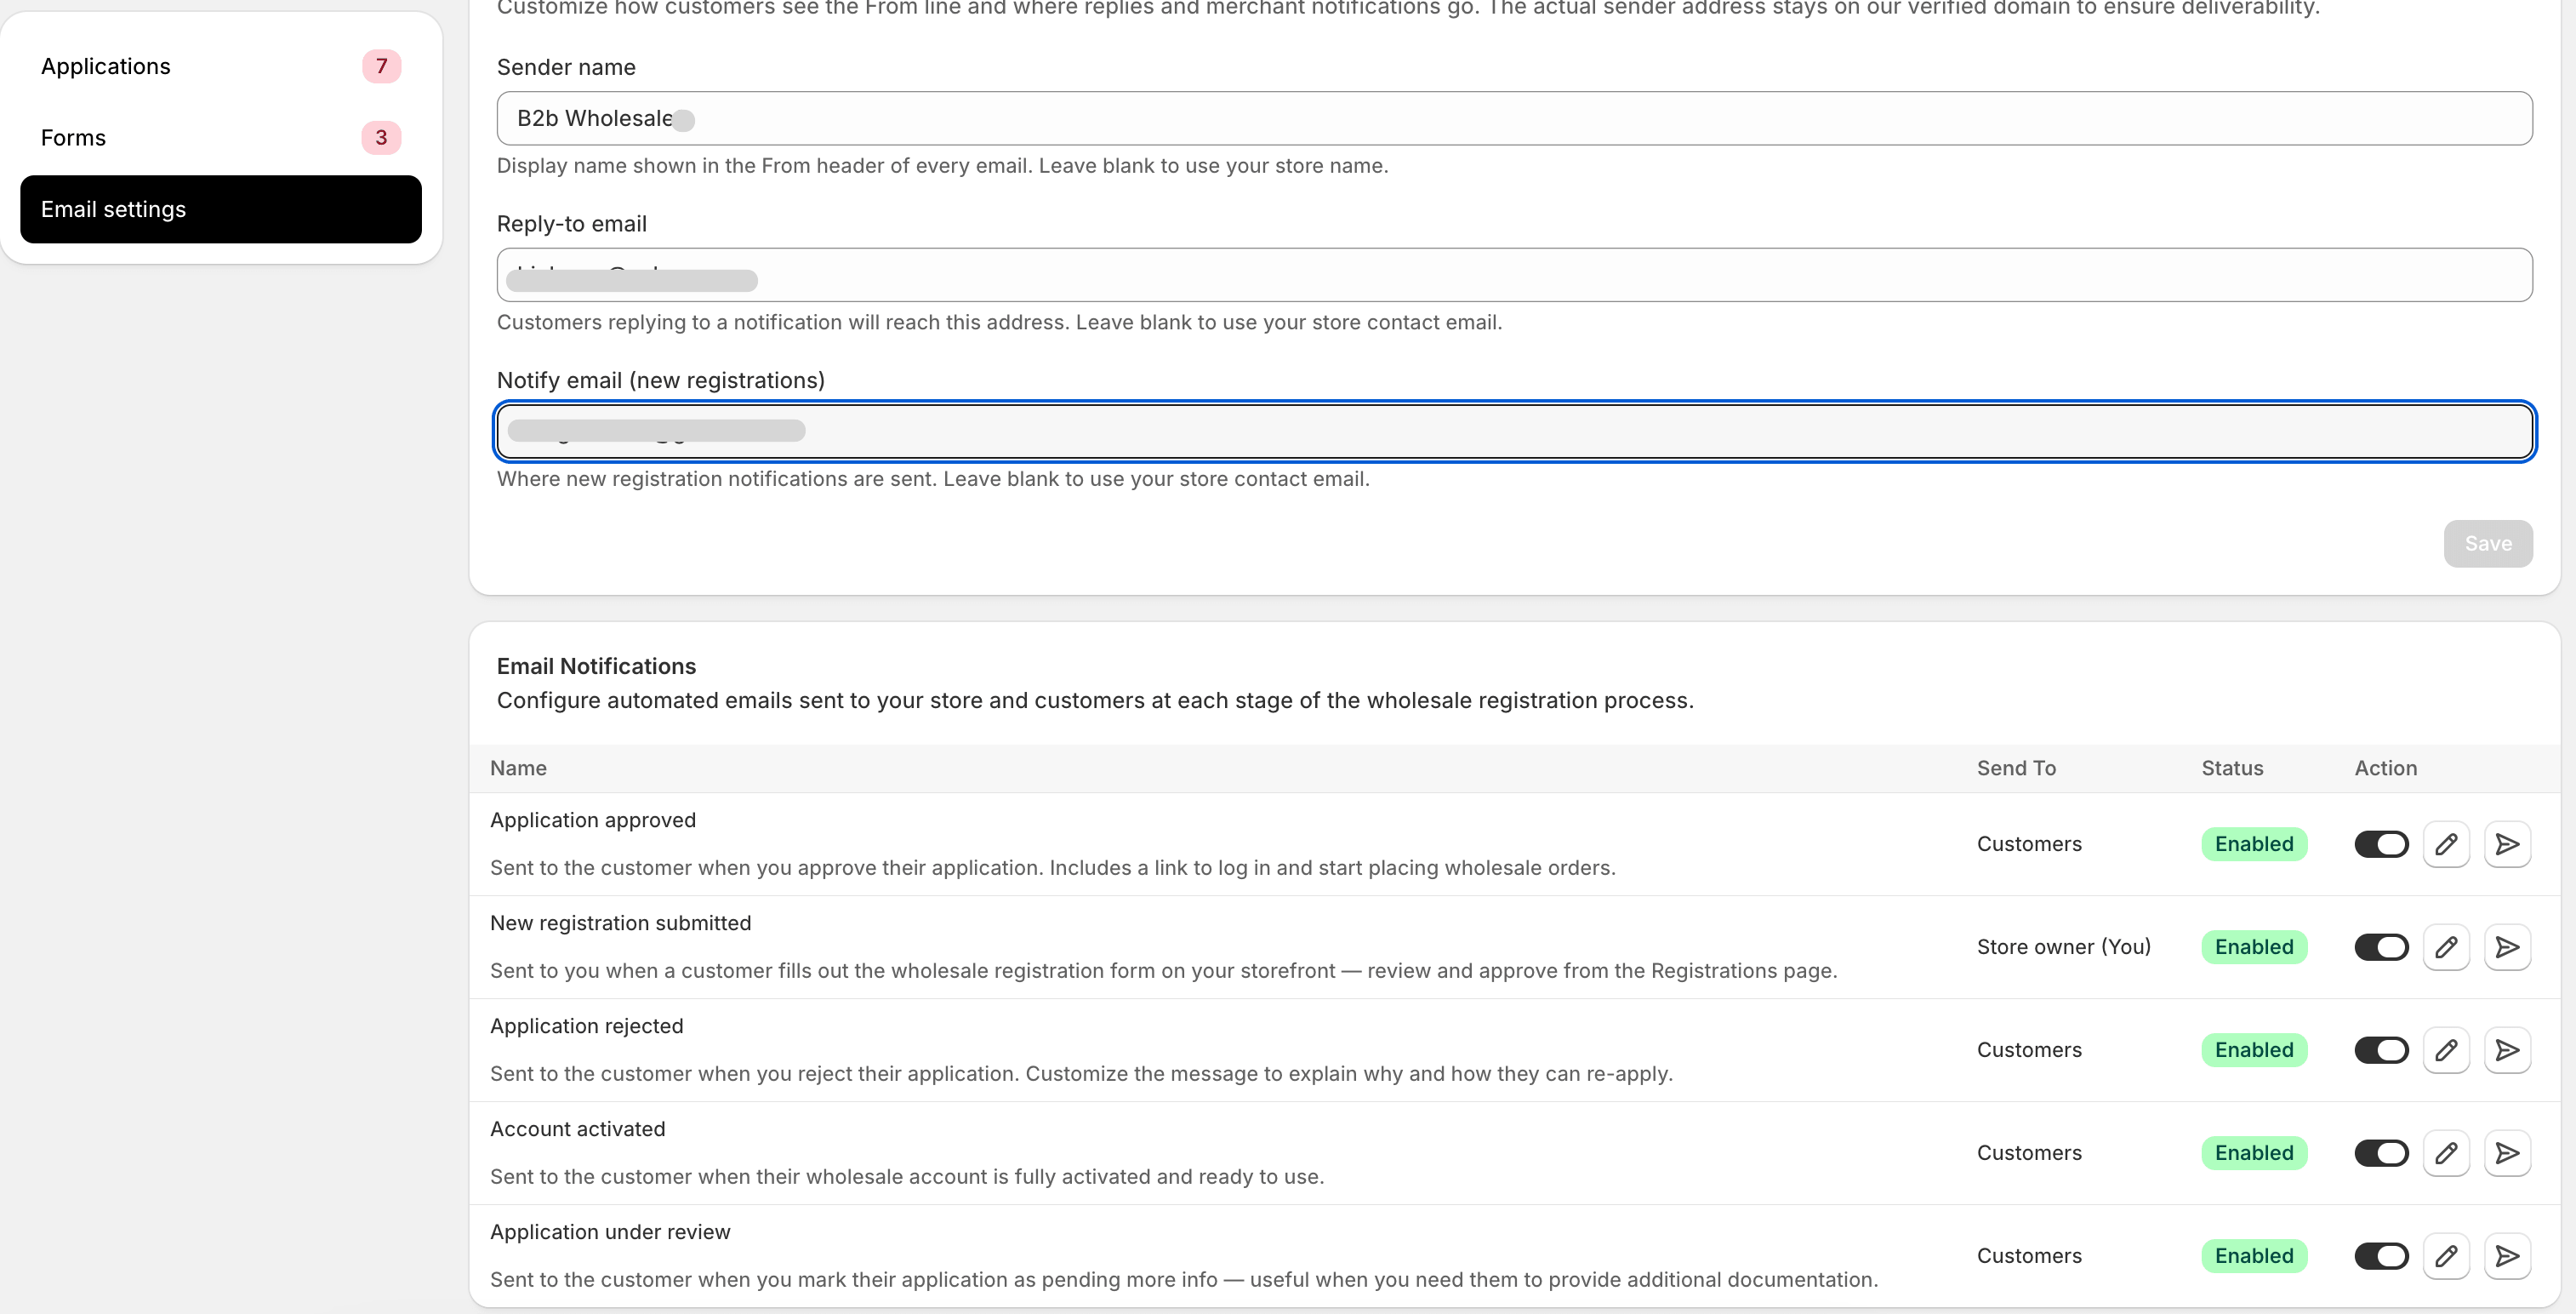
Each template has three editable parts:
- From name — appears as the sender. Defaults to your shop name.
- Subject line — what the applicant sees in their inbox.
- Body — the message itself, with variable substitutions.
Variables
Section titled “Variables”The body supports a small set of double-curly-brace variables that get replaced with real values when the email sends. The available variables for each template are listed in the editor as clickable chips — click one to insert it at the cursor.
Common variables:
| Variable | What it becomes |
|---|---|
{{first_name}} | The applicant’s first name |
{{last_name}} | The applicant’s last name |
{{company_name}} | Their company name (empty if not provided) |
{{shop_name}} | Your store’s name |
{{group_name}} | (Approval only) The group they were added to |
{{rejection_reason}} | (Rejection only) The reason you typed when rejecting |
{{login_url}} | A link to your store’s login page |
If a variable is empty (e.g. you didn’t type a rejection reason), it collapses to nothing — no awkward placeholder text in the email.
Approval email
Section titled “Approval email”The approval email is the first impression buyers get after a successful application. Cover three things:
- Confirm they’ve been approved. Lead with the good news.
- Tell them how to start ordering. Sign in to the storefront,
browse, and prices update automatically. Include the
{{login_url}}. - Set expectations. Mention the discount level if you want (“You’ll see your wholesale prices once you’re signed in”), and explain anything they need to do — like accept the wholesale terms on their first order.
A workable starting template:
Hi {{first_name}},
Welcome to {{shop_name}} wholesale. Your application has beenapproved and you've been added to our {{group_name}} tier.
Sign in at {{login_url}} and you'll see wholesale prices on everyproduct. If you placed any orders before today, those used retailpricing — get in touch and we'll see what we can do.
Thanks for choosing us.
— The {{shop_name}} team
Keep the link visible. If your store sells in multiple regions, mention that wholesale prices are in your shop’s primary currency unless you’ve configured otherwise.
Rejection email
Section titled “Rejection email”Rejection emails are harder to write well. Keep them short, kind, and factual. Don’t list every reason you don’t like the application — pick one (the most relevant) or leave the reason out entirely.
A workable starting template:
Hi {{first_name}},
Thanks for your interest in {{shop_name}} wholesale. We're not ableto approve your application at this time.
{{rejection_reason}}
If anything changes (a different business, more documentation,different region), feel free to reapply.
— The {{shop_name}} team
If you decide to leave {{rejection_reason}} in the body and you don’t
type a reason in the rejection panel, the variable collapses to
nothing. The email sends without an awkward empty paragraph.
Tone tips
Section titled “Tone tips”A few things we’ve seen go right and wrong:
- Use the applicant’s first name. Not their full name, not their company. First names read as personal; everything else reads as form letter.
- Sign with a real name or “the team”. Either works. Avoid signing with a generic Wholesale Team — it’s a bit cold.
- Don’t say “do not reply”. If you’re not going to read replies, set up a forward to support. Buyers reply to these emails fairly often, especially after a rejection.
- Skip enthusiasm in the rejection. “Sorry to hear that…” style emails come across as ironic when you’re the one rejecting them.
Sending
Section titled “Sending”Emails send through Shopify’s notifications system. There’s no schedule or batching — the moment you click Approve or Reject, the email goes out within seconds.
If you want to send the email yourself from your own tool (Klaviyo, Mailchimp, plain Gmail), leave the template body empty. The app still flips the status and applies the tag, but no email is sent. You can trigger your own email based on what you see in the queue.
Re-sending an email
Section titled “Re-sending an email”If an applicant says they didn’t receive the email (and it’s not in spam), open the application in Registrations, click the kebab menu, and choose Re-send email. The same template fires again with the same variable values.
Translating emails
Section titled “Translating emails”If your store serves multiple languages, you can translate the email templates per locale. See Translations.
What’s next
Section titled “What’s next”- Translations — multi-language form labels and email copy.
- Reviewing Applications — the workflow these emails sit at the end of.